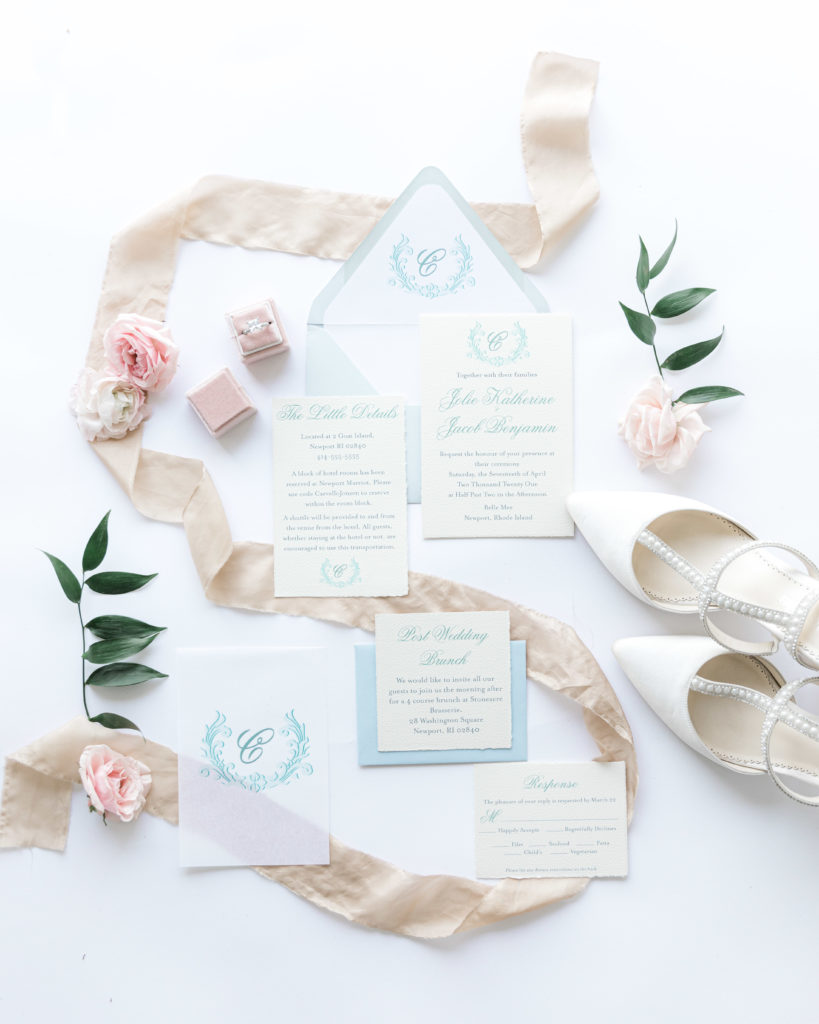
Everyone wants their wedding to be perfect. This means the right dress and venue (and, of course, partner!), but it also means perfecting the details like your invitations and RSVP cards! Having a cohesive stationery suite can highlight your favorite colors, flowers, and designs, all while bringing together all elements of your wedding. Sounds like a daunting task, right? Luckily, your custom stationery designer (that’s me!) is here to provide you with a simple guide to help you get the perfect stationery suite for your big day!
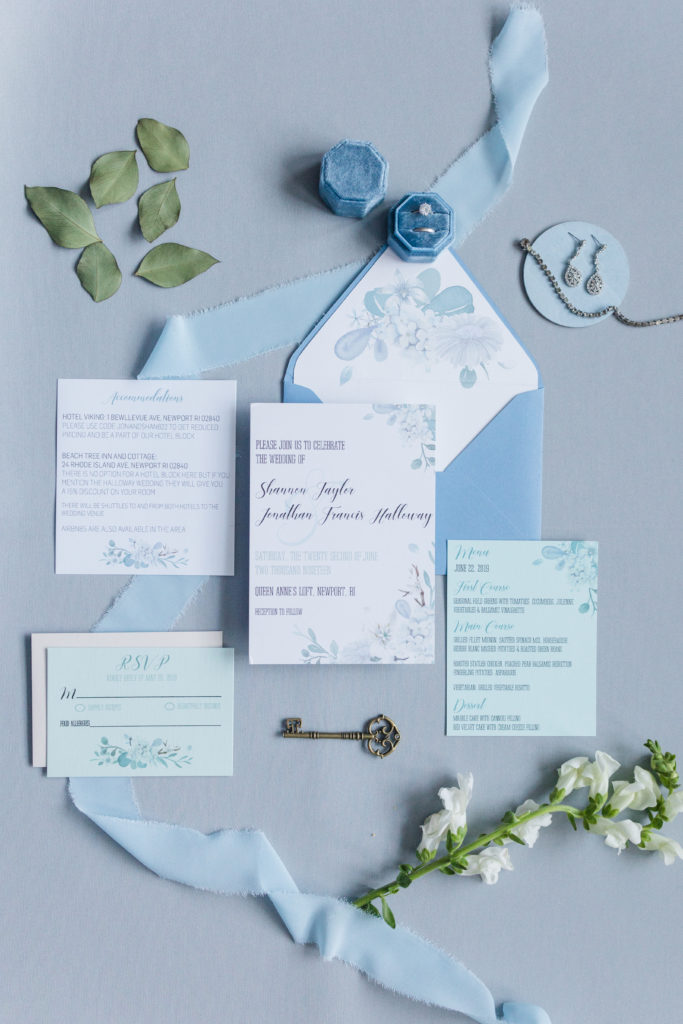
Step 1: Pick your wedding date and venue
First things first: You need to have an idea of when and where your wedding is going to take place. These big, initial decisions set the stage for the rest of your choices down the line. For example, the season in which you get married may influence your color palette. Your venue will help you determine your approximate budget and size of the event. The location may also dictate the style of your wedding. A barn (a super trendy venue option right now!) is perfect for rustic weddings, while a banquet hall is a bit more formal. Whichever you choose, this is perhaps the most important step to begin the rest of your planning, so make sure to start early!
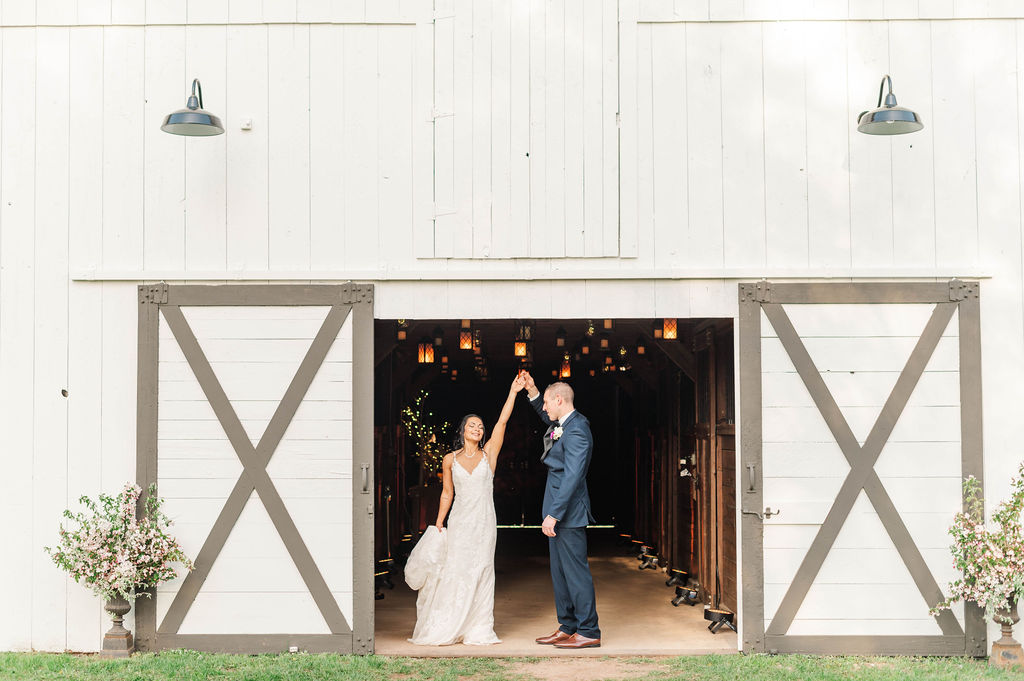
Step 2: Find a stationery designer and send your save-the-dates out!
Informing your invitees about your big day is the most crucial part of throwing a wedding… Without the guests, there’s no party! Accordingly, finding a great custom stationery designer to design your save-the-dates and invitations should be one of your first steps after getting engaged. Once you find a designer, sit down for a consultation with them. Bring your ideas, such as potential colors and flowers. But don’t worry if you’re not sure exactly what you want yet; your designer will be able to give you some guidance and recommendations as well.
It’s very important to meet with your custom designer as early as possible. You will want to send your save-the-dates 10 to 12 months prior to your wedding day, so try to meet with a designer approximately a year before your date if possible. Some designers can accommodate rush orders, but this will add to your cost. Planning ahead will save you money in the long run!
Step 3: Pick your other vendors
Your stationery is an essential and important part of your wedding planning, but your planning doesn’t stop there. You’ll need a photographer, hair and makeup artist, DJ or band, florist, a caterer and baker, and likely many more. If that sounds overwhelming, don’t worry: professional stationery designers are pros for a reason. We have connections with all types of vendors in the wedding industry, and they’re already vetted for you! Don’t be afraid to ask your vendors for recommendations!
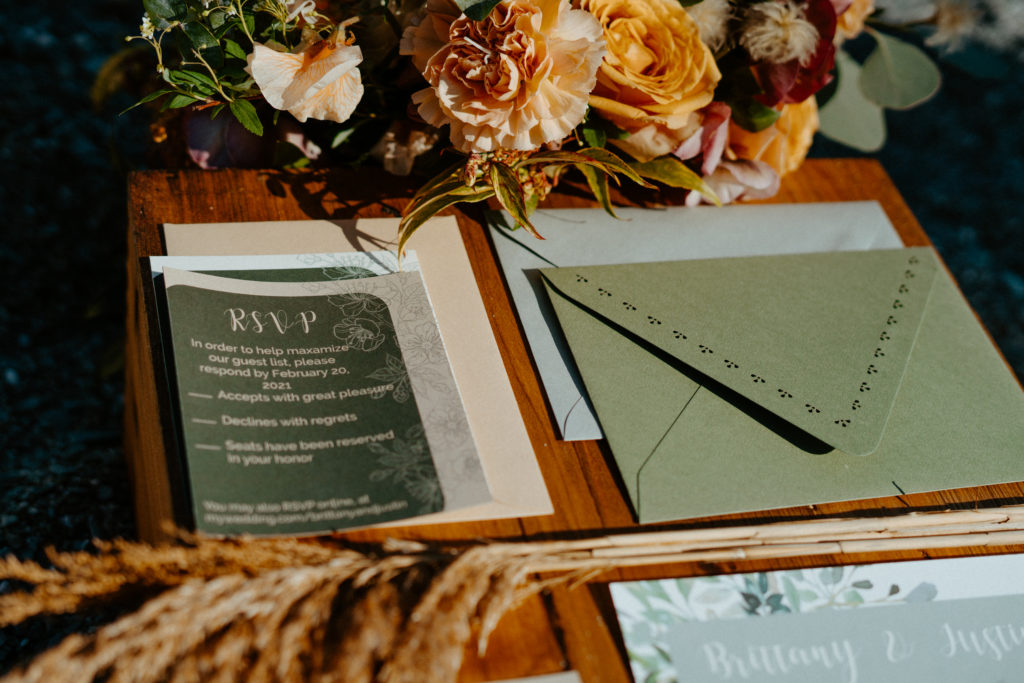
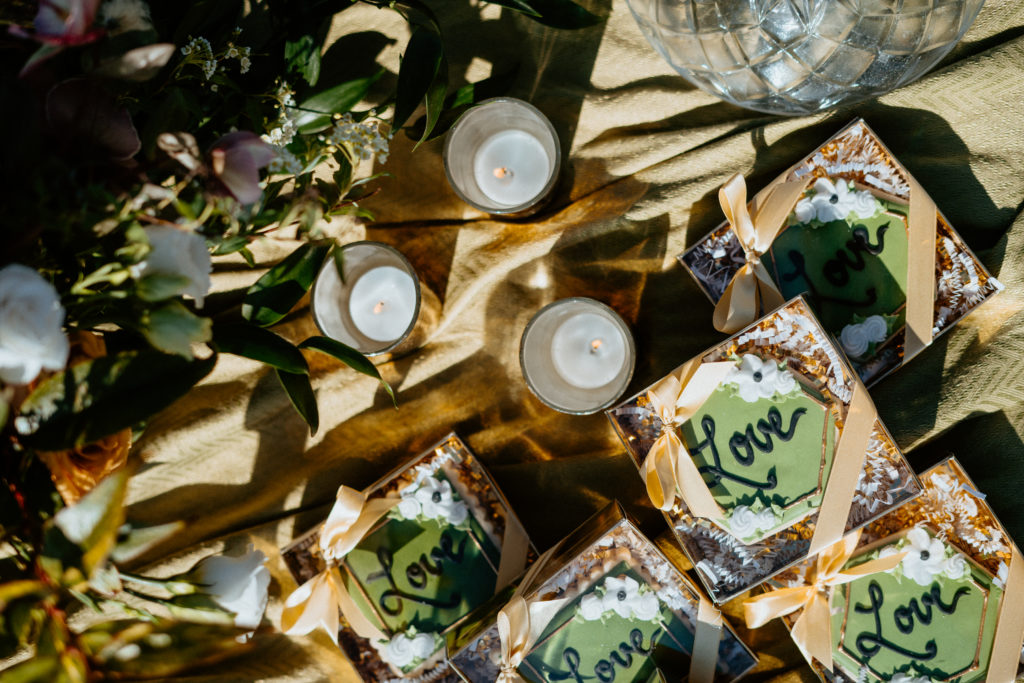
Vendors can even work together to create a cohesive style for you!
Photos: Caitlin Kershaw Photography
Step 4: Follow-up with your stationery designer for your invitation design
Approximately 6 months before your wedding date, you should sit down with your stationery designer again to make decisions about your invitations. By this time, you should have a solid idea about your color scheme and other decor. This will be very important for your designer to create a cohesive stationery suite that brings together multiple motifs in a beautiful way. And, don’t be afraid to get creative! For instance, one of my clients loved the delicate floral lace pattern on her dress so much that I incorporated the design into her invitations. Even small tidbits of inspiration are helpful for designers to create something unique to you!
Step 5: Finalize and send your invitations!
The countdown is on! 3 to 4 months before your date, you should be ready to send out your invitations! When you work with a custom stationery designer, this step is simple. We will finalize your invitation design with you to make sure it’s perfect. But, we do even more than just the design! Most stationery designers will also print and assemble your invitations. You can also opt for address printing directly onto the envelopes! This way, you won’t have to worry about a thing. Just relax and enjoy the assurance of having a professional take care of it for you!
Step 6: Collect your RSVPs and prepare for your big day
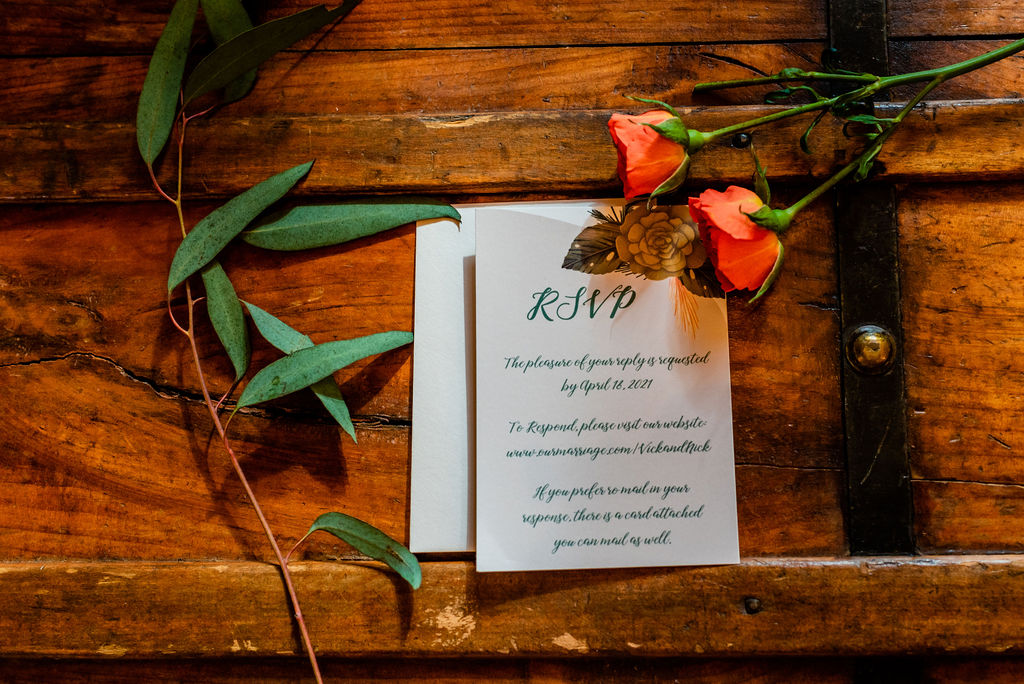
RSVPs are a very important piece of your stationery suite. They will be sent out with your invitations, and should include stamped and addressed return envelopes to ensure that responding to the invite is as easy as possible! On the other hand, many couples are opting for guests to electronically RSVP instead. Whichever you decide, always be sure to include an RSVP card in your invitation with instructions on how to respond!
And, don’t forget: planning ahead is so important! Many vendors, such as the venue and caterers, will require a final guest count prior to the big day. Be sure to set an RSVP return date far enough in advance to ensure that you will know the number of attendees ahead of time to give yourself and your other vendors plenty of time to prepare!
Step 7: Discuss your day-of stationery needs with your designer
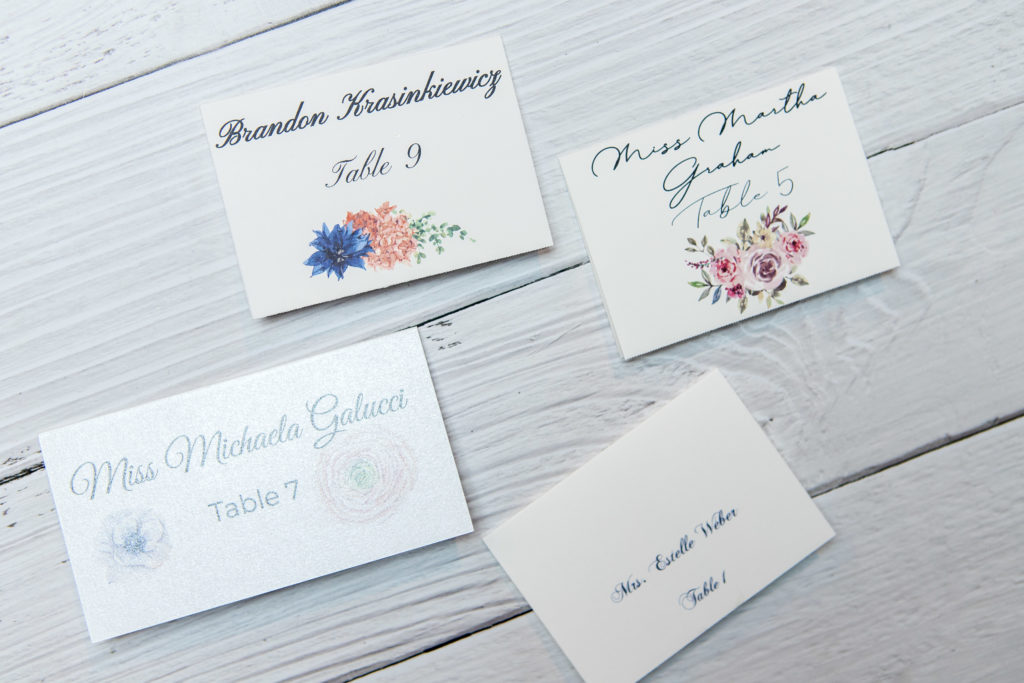
Many people think that a wedding stationery suite begins and ends with invitations — but this is not so! In order to make your designs cohesive, it’s also important to focus on the stationery you will need on the actual wedding day as well. This can include signage, ceremony programs, seating charts, escort cards, menus, and more! Your custom stationer is there to help with these needs and create beautiful stationery that blends seamlessly with the rest of your decor.
Step 8: Get married!
Congratulations, you made it! After a year of planning, you finally get to enjoy your big day! At last, all that hard work is coming to fruition. So sit back and relax, and take it all in!
Step 9: Send your thank-you cards
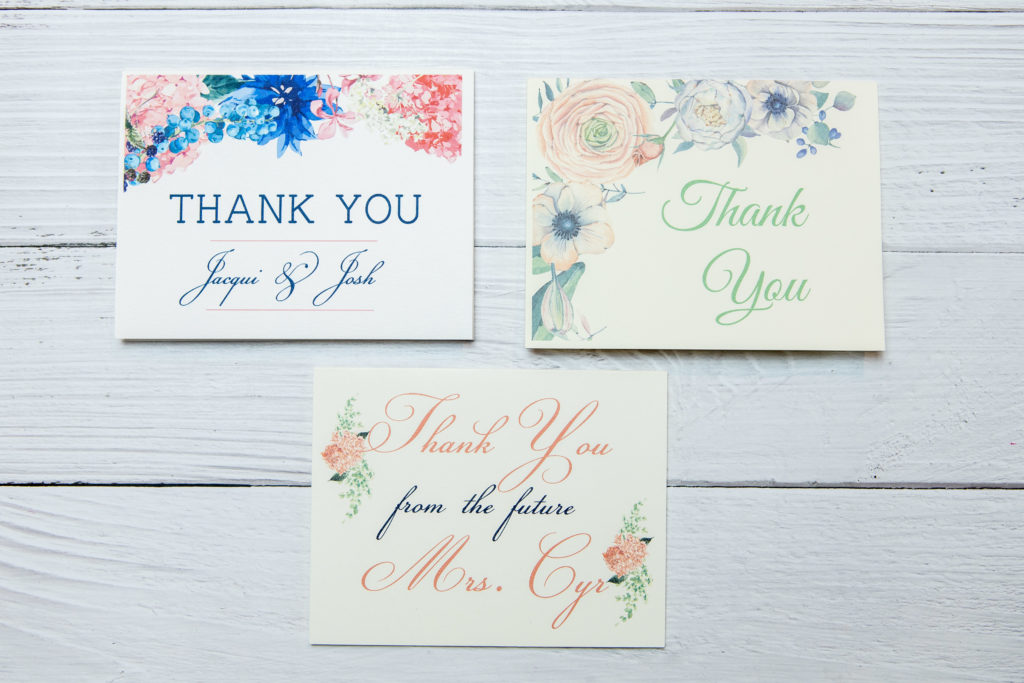
After a spectacular celebration filled with friends and family, be sure to thank all your guests that made the day so special! Thank-you cards typically should be sent within a year of the wedding. This is a perfect opportunity to utilize your designer one last time: we can design custom thank-you cards that match the rest of your stationery suite. In this way, you also have a perfect little memento to send to your guests to remind them of the beauty of your special day!
Step 10: Thank your vendors by writing a review
Most wedding vendors are small businesses. That means that recognition of our hard work is particularly important in helping our businesses grow! Writing a review on Google or our website detailing how we helped you makes a huge difference to us. And, if you have any friends or family getting married in the future, be sure to recommend us! This is the best way to thank us for our hard work, and we really appreciate it!
[…] Canva’s platform has a variety of features to choose from, either by purchasing artwork online and uploading it to Canva or by browsing through the various elements. There are many free line art styles to choose from, and you can change the color and size of the designs as needed. You can change the color of your text or graphics by selecting the color picker tool in the editor pane, then selecting your color. A simple and low-cost way to personalize your wedding is ideal if you want to save money. The Canva design platform is a popular online design platform that allows you to create a wide range of designs. You can easily create a new design for each piece, size appropriately, and follow the same steps to assemble a cohesive wedding suite. […]